At this time of year, as the plants start to lose their leaves and begin to go dormant for the Winter is the ideal time to take hardwood cuttings from some of your favorite shrubs to increase your stock of deciduous shrubs and even fruit bushes. You can use these cuttings, once they’ve rooted, to add to your own shrub collection or perhaps give as a gift or a swap with another gardening friend or relative and with pretty much no cost involved. So hardwood cuttings as the name implies are cuttings taken from shrubs where the stems have fully hardened with no soft bits at the end unlike softwood or semi-ripe cuttings and when you take these cuttings you are aiming to get these short stems or cuttings to produce roots at the bottom and go on to grow into a new shrub or plant. They can take several months to produce roots, so you need to leave them for about a year before lifting and potting up or transplanting them. Amongst the benefits of these types of cuttings or this style of propagating is that it tends to be quite successful and doesn't need much in the way of equipment or protection. Hardwood cuttings can be left outside in the open ground or in a pot - outside in all weathers. All you need is a sharp secateurs, some rooting powder, compost and some patience. Lots of people are of the impression that it’s difficult or technical or complicated but if you give it a go you’ll see it's not only very easy and inexpensive you’ll also get a great feeling of satisfaction from creating a new plant with minimal effort. A few favorites that are quite successful include Forsythia - with its lovely yellow flowers in Spring, Ribes or flowering currant with beautiful pink flowers and scented leaves, Honeysuckle a great climbing plant with scented flowers, Dogwoods, Willows and even some fruit bushes like Blackcurrants and Gooseberries - all suitable for taking cuttings. Best to choose cuttings from strong, healthy, vigorous plants and usually from stems around pen or pencil thickness. Take your cuttings from just below a leaf joint or a bud using your sharp, clean Secateurs and cuttings of around 8 or 9 inches up to a foot long tend to do best and cutting just above a bud at the top end. I find it best to cut the bottom end straight across and the top end with a slight slope to help excess rain water run off. It’s always best to take a good few cuttings for the odd one that might not take so you have plenty of back up. You can use some rooting powder at the base to help increase the success rate. If you plan to put your cuttings into open ground in the garden, choose a well drained area of ground to prevent the cuttings rotting - more likely if the ground is very heavy or wet - you could look to improve the soil conditions by digging in some horticultural grit and compost. Dig some narrow trenches with a spade by just pushing the spade in and rock it over and back a little with a depth of around 8 or 9 inches if your cuttings are a foot long in length - so around 2 thirds of the cutting is buried. So you just push the cuttings into the ground spacing them around 6 inches apart. You can also use a decent size pot with a good gritty compost mix, placing them at the edge of the pot which is better for drainage - this has the advantage of being able to move them if space is needed for something else. After around 9 months or a year they’ll have rooted and they’ll be ready for transplanting or moving them to a different part of the garden. The following Spring and Summer keep an eye on them during prolonged dry weather - giving them plenty of water - not allowing them to dry out. Any new shoots that develop can be cut back to encourage a nice bushy habit. So easy to increase your stock with pretty much no cost and a great sense of satisfaction - cuttings taken now could be next year’s Christmas presents. Just be patient and you’ll have plenty of new plants for free.
A few jobs for the week ahead;
- Give any borderline hardy plants a good thick layer of bark mulch to protect them from severe frosts - hopefully we won’t need it but best to be prepared.
- Prepare ground if you plan to plant any bare root trees or hedging plants - bare root plants will be available around mid or late November - you can clear of any grass or weeds in advance of planting.
- Plant Tulip Bulbs in containers or out in beds - nice and deep - at least twice their depth.
- With plenty of rain forecast it’s a good idea to use some pot feet to raise your pots of the ground - this will help prevent water logging and help to avoid frost damage - make sure your containers have good drainage to prevent them getting too wet over the Winter months.
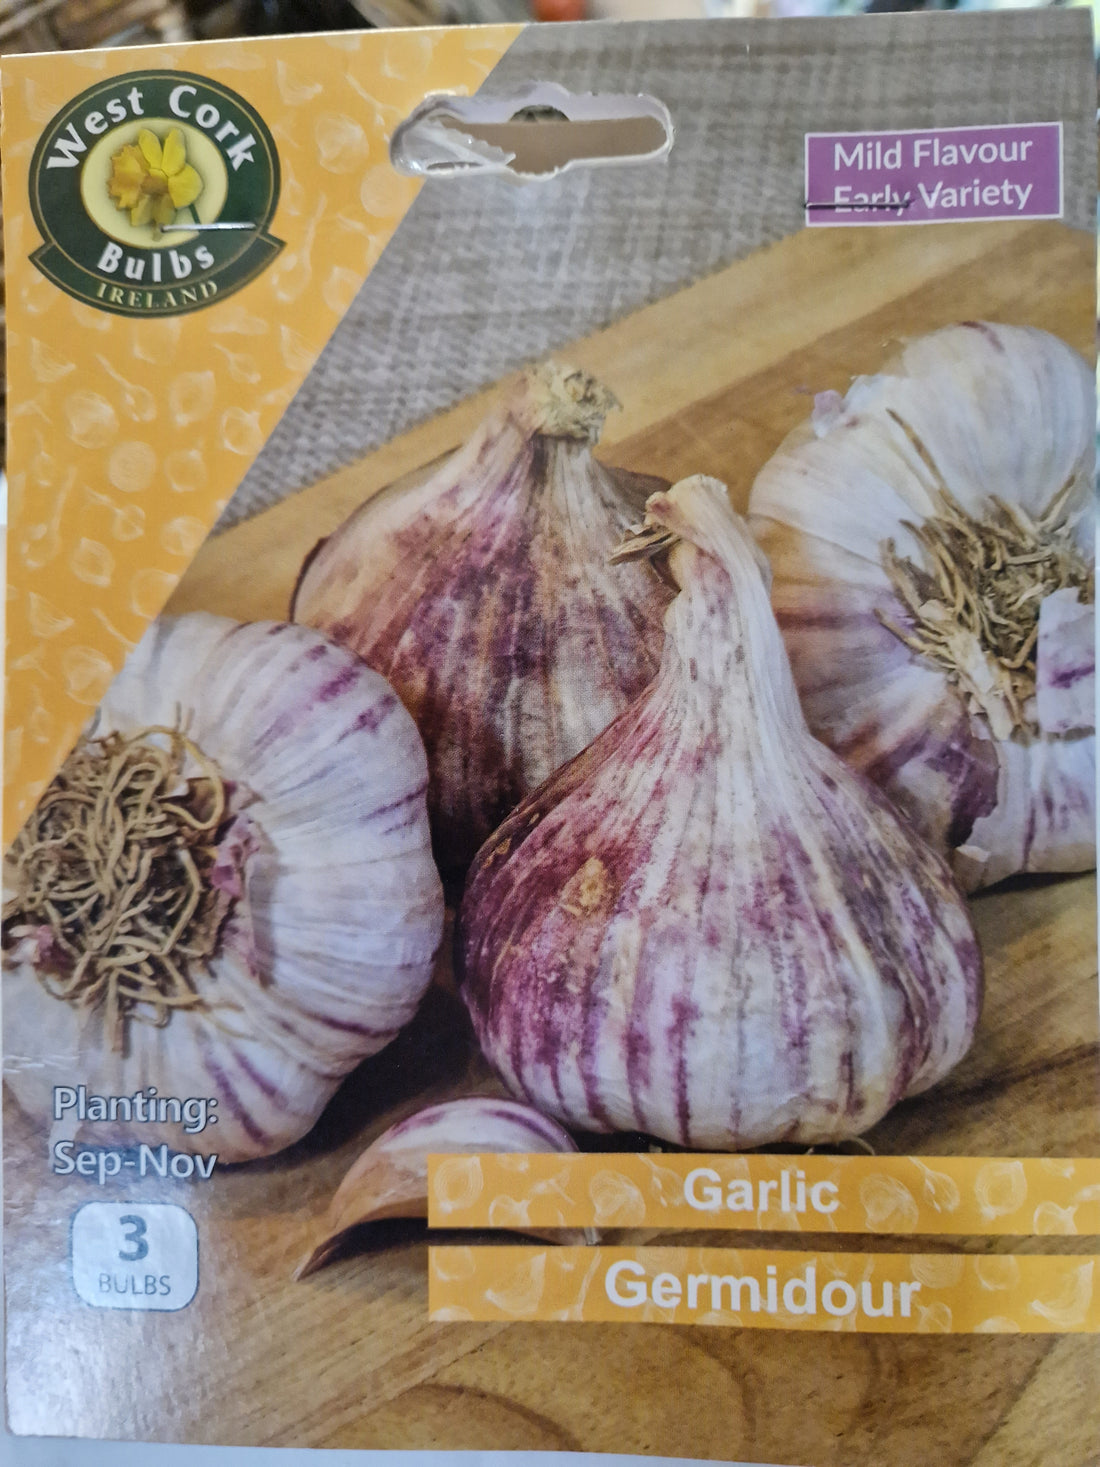
- Plant Garlic and Winter Onion Sets in nice free draining soil or in large containers or raised beds for a harvest in early Summer.